Well, it’s not frontend (like those posts). Although they have a very LOVELY User Interface ! I would definitely use elements and ideas from them in my future work, but yea, this article is not about frontend. It’s about OpenSource Dark Magic !! 🔮🪄🧙♂️
The Story
Nowadays, everyone is speaking about AI, and how AI will rule the world. A lot of stuff now uses AI, image generation, music generation, some people generate code as well, and its becoming stronger and stronger.
Let’s focus on something, Image Generation.
Most of AI Image Generators are paid, well the free ones are so bad, and the good ones are probably paid. Why? simple, because it uses a lot of hardware resources, RAM and Processing Power either from the processor or a GPU which can be a little costy.
Well, how about making our own?? 😎
The Idea
There’s a text-to-image model released in 2022 for generating images called Stable Diffusion that’s basically used to detailed images.
Stable Diffusion is a deep learning, text-to-image model released in 2022. It is primarily used to generate detailed images conditioned on text descriptions, though it can also be applied to other tasks such as inpainting, outpainting, and generating image-to-image translations guided by a text prompt. It was developed by the start-up Stability AI in collaboration with a number of academic researchers and non-profit organizations.
We can actually use Stable Diffusion with an AI Art Model and use our own resources (our home laptop or PC) to generate our very unique art works, FREE OF CHARGE 💸
Or, if you wanna walk the extra mile and host it on your own server and start renting your server for people to generate their own art works, well that’s possible. 🤑

Free Easy Steps
How?
We will be using a simple installer for Stable Diffusion called: Easy Diffusion
Simply if you are on Windows, navigate to https://stable-diffusion-ui.github.io/docs/installation/, click on Download and follow the below easy simple steps:
- Download for Windows
- Run the downloaded Easy-Diffusion-Windows.exe file.
- Run Easy Diffusion once the installation finishes. You can also start from your Start Menu, or from your desktop (if you created a shortcut).
This will automatically install Easy Diffusion, set it up, and start the interface. No additional steps are needed.
For other OS, just follow the below page:
https://stable-diffusion-ui.github.io/docs/installation/
The Interface
The installation will take a while because it will download some resources, it will download 6+GB of resources as well as the installation.
Once the installation is done, a script will run and start a server, it will open your browser on localhost:9000 with the interface of Easy Diffusion.

It’s neat, it’s dark, it’s OpenSource Dark Magic !
It will literally generate magic for your.
Ok, how?
Simply, once the page is loaded, you will find a text area with a simple prompt:
a photograph of an astronaut riding a horse
clicking Make Image, will process for few seconds and generate you an image for an astronaut riding a horse.

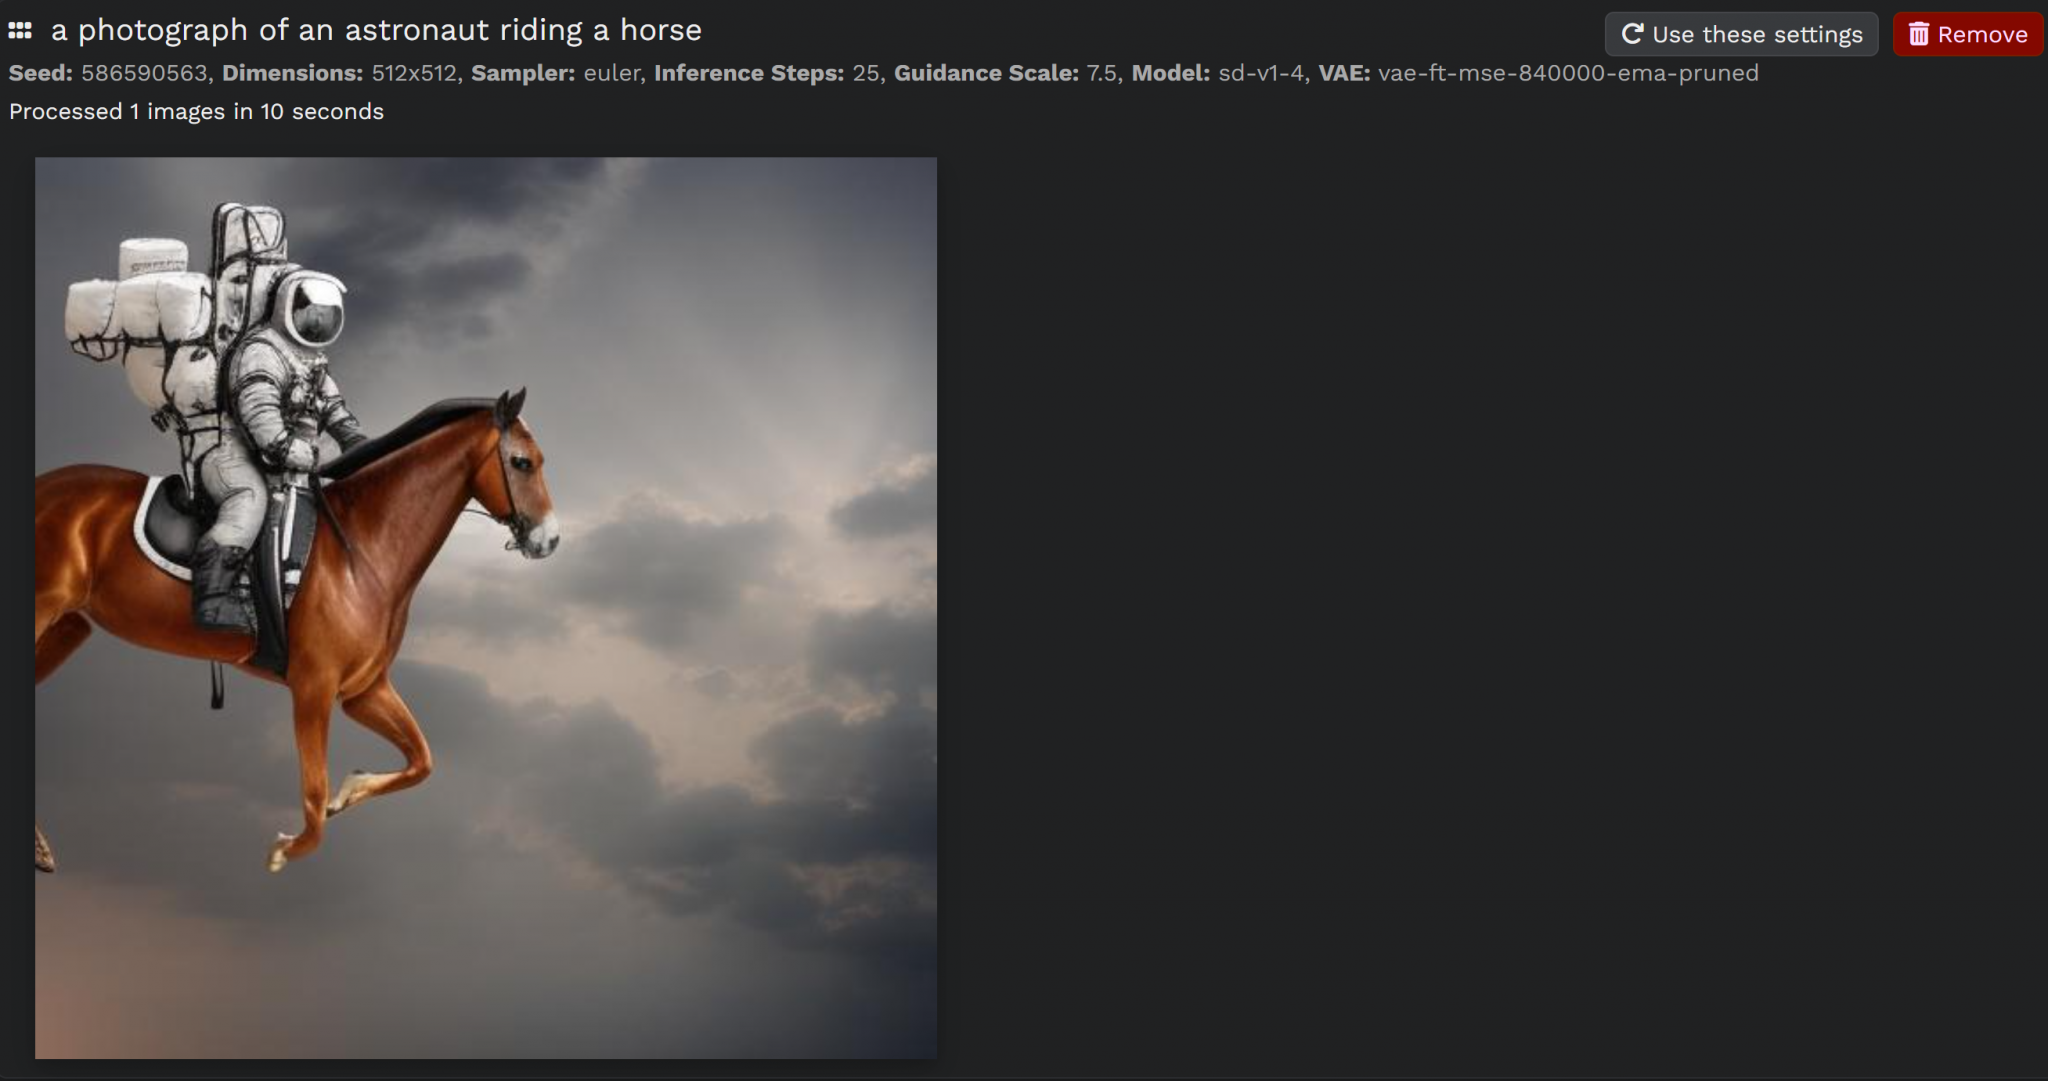
That’s my generated image. I ran it again and got this:
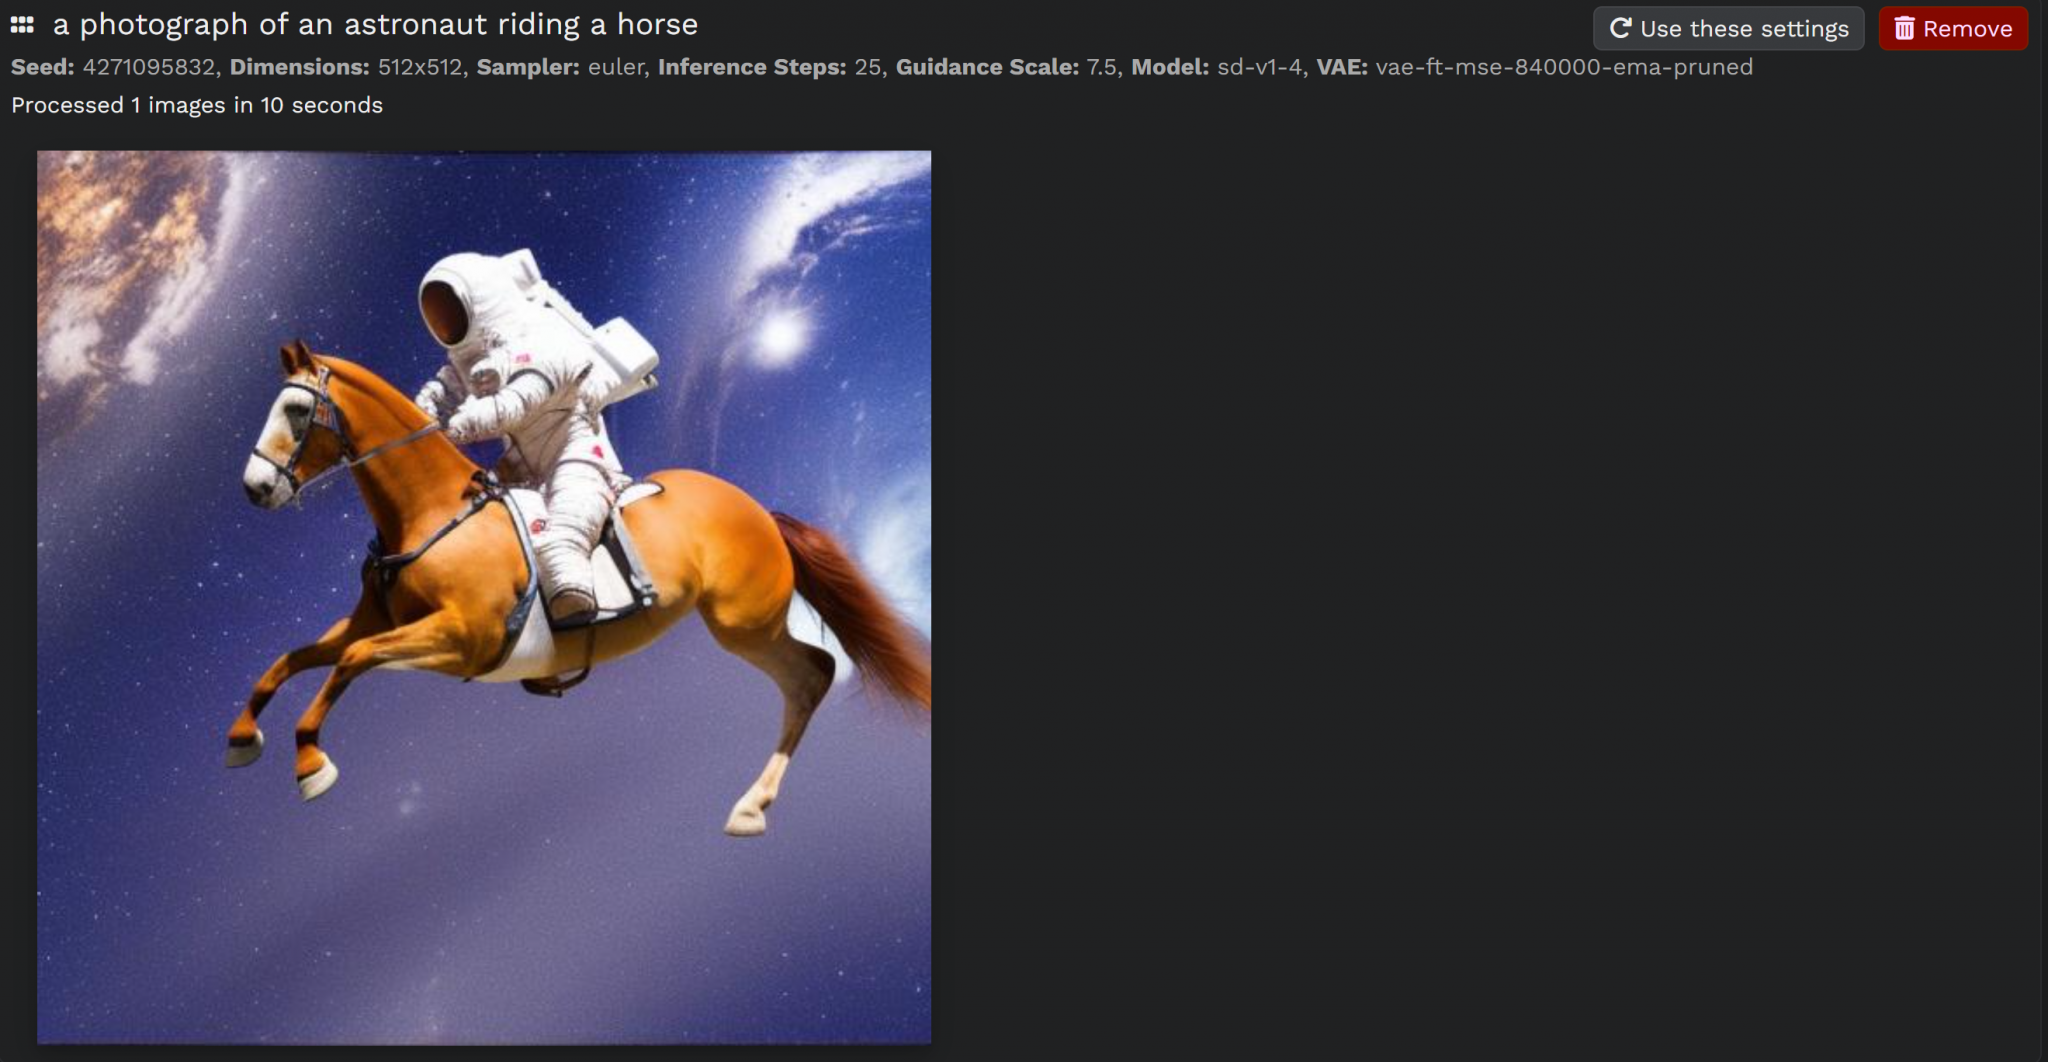
Ok, they are two different images, but they kinda have the same style.
What If, I want different styles?
Yea, so, what if I want different styles? What if I want manga style images, hand drawing, anime, black and white, simple 2D drawing … or literally .. ANYTHING !
We can download models and import them to Easy Diffusion and use them right away, and the surprise is, THEY ARE FREE AS WELL !! 😲
How?
Well, we can simply go to one of those resources and download any model that we want:
- https://civitai.com/?types=Checkpoint – Overview of many stable diffusion models. Only models of the type checkpoint can be used by Stable Diffusion UI.
- https://rentry.org/sdmodels – List of stable diffusion models from various sources
We will be using CivitAI for this article but of course you are free to explore and use any.
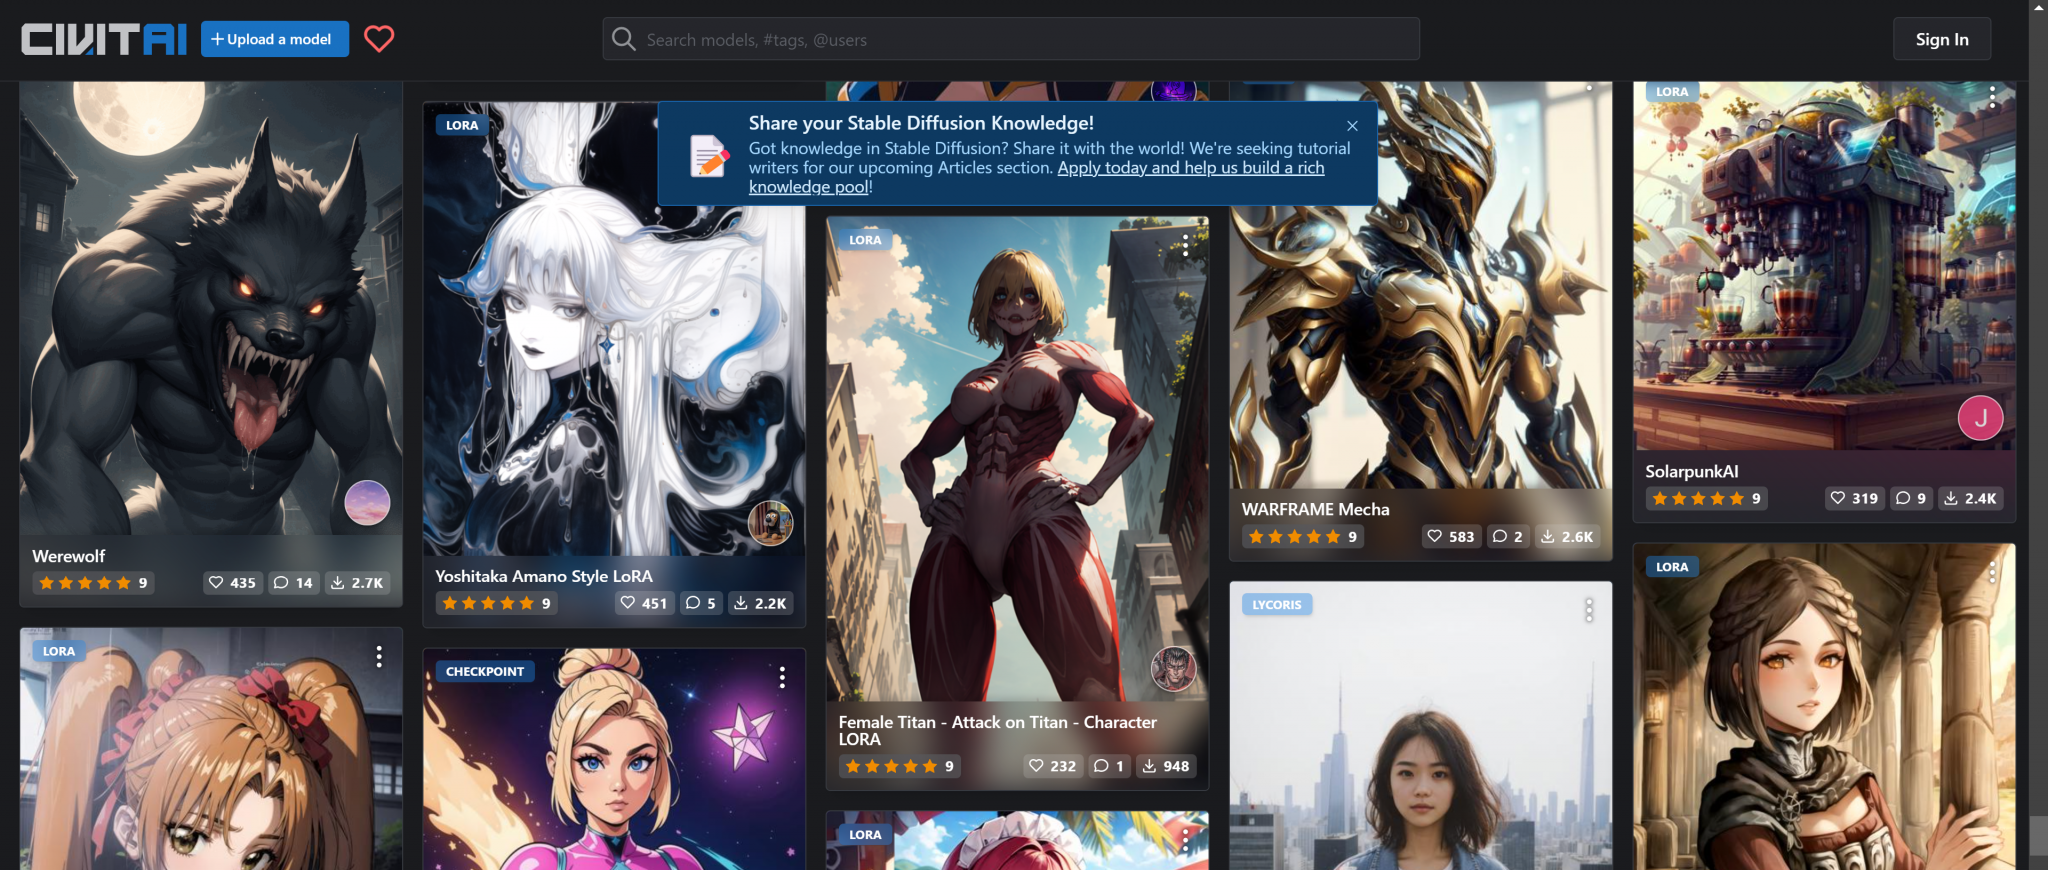
There’re a lot of models on CivitAI that one can use and import it in Easy Diffusion right away.
First, choose whatever model you wish.
Then download it, try to aim for the SafeTensor ones.
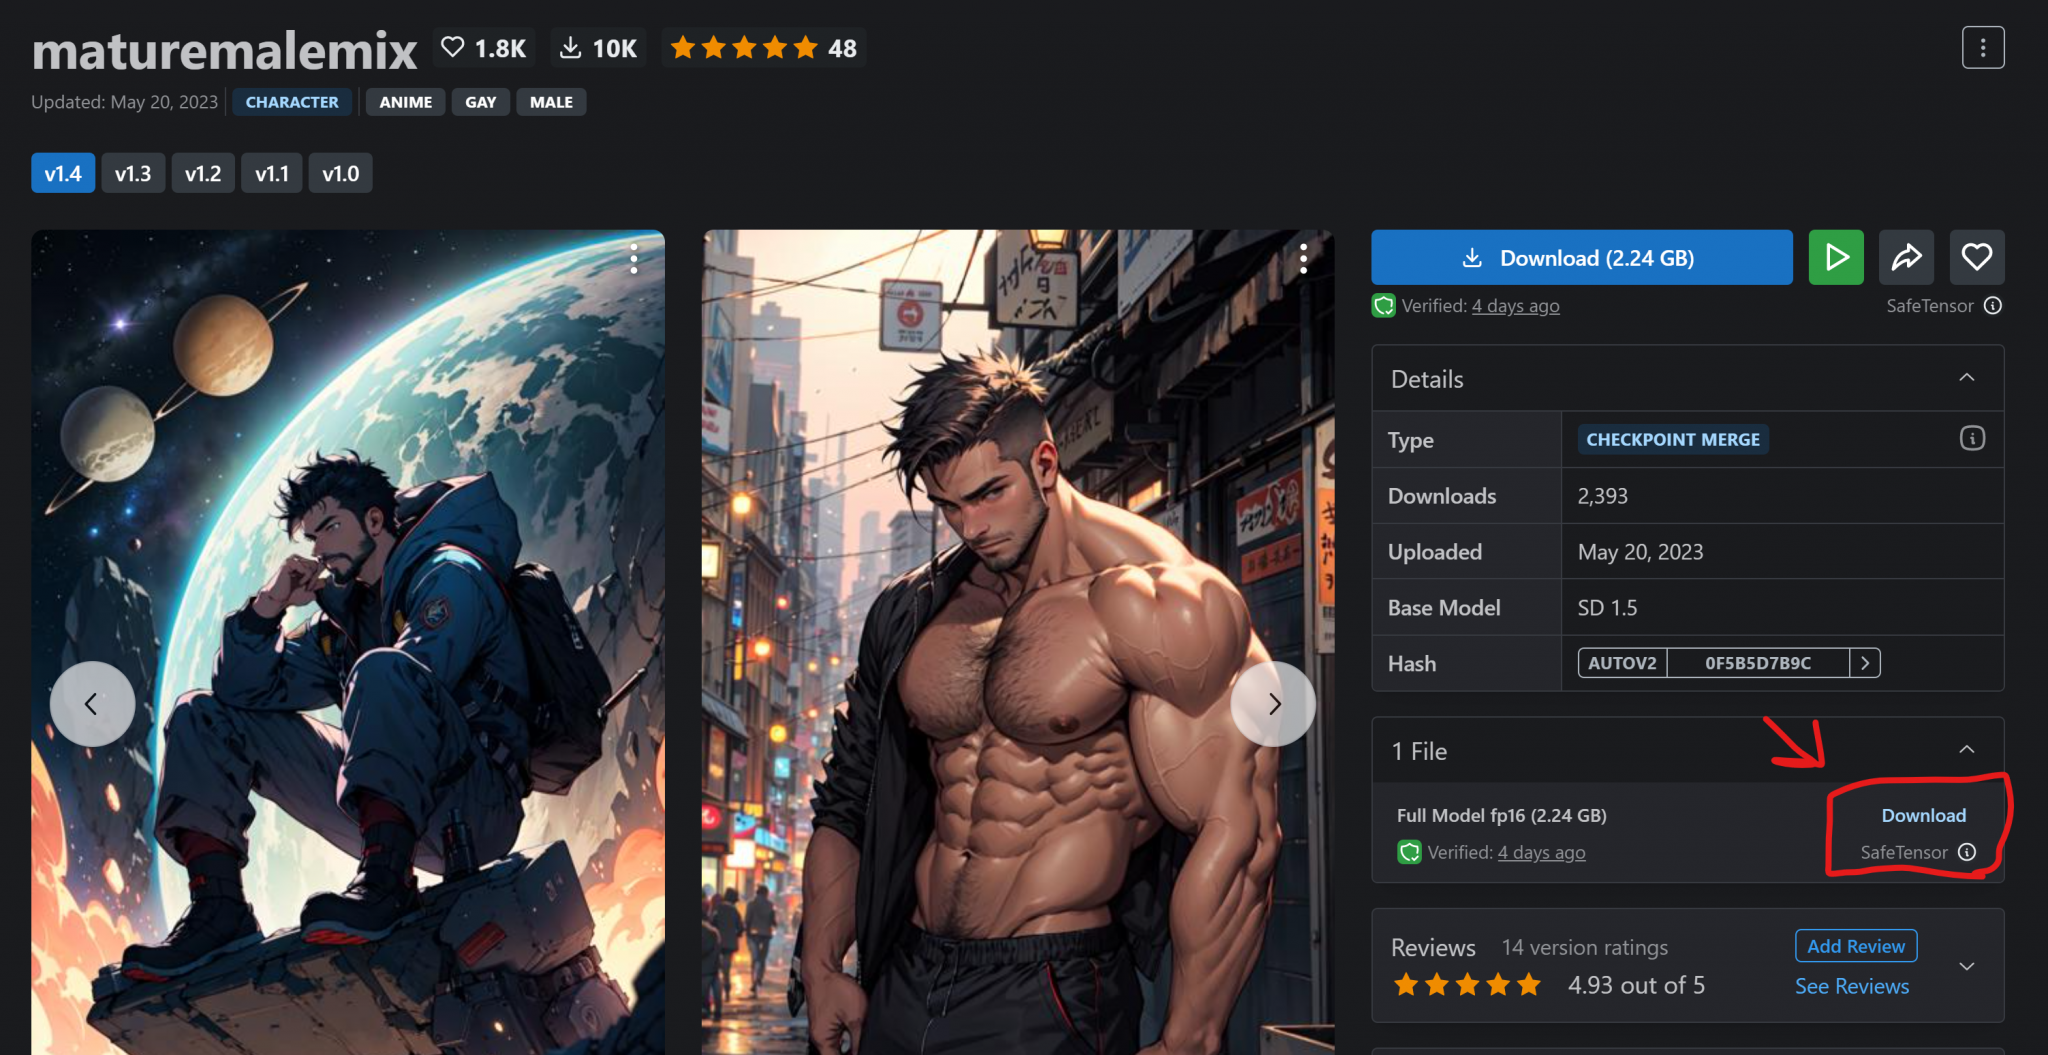
Of course it will take some time as it’s quite a big file.
Then, head to your Download location for Easy Diffusion on your PC.
If Windows it should be:
C:\EasyDiffusion\models\stable-diffusion
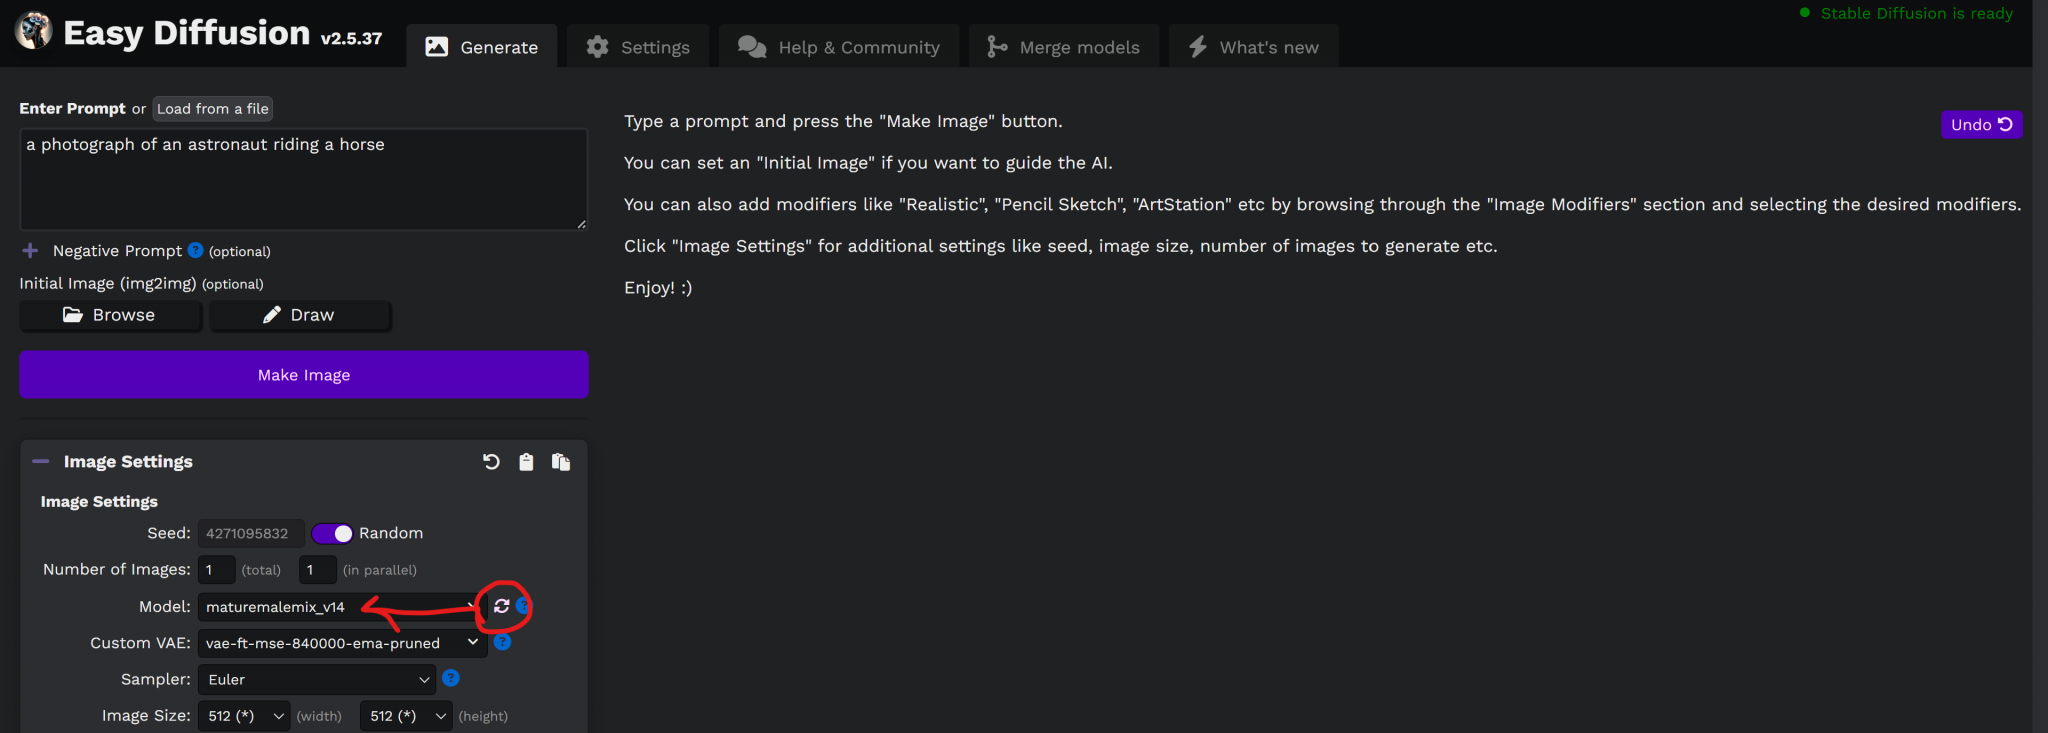
Move the downloaded file to the above location, head to your browser for http://localhost:900 and click the refresh icon next to Model in the Image Settings section:
Let’s try the same prompt.
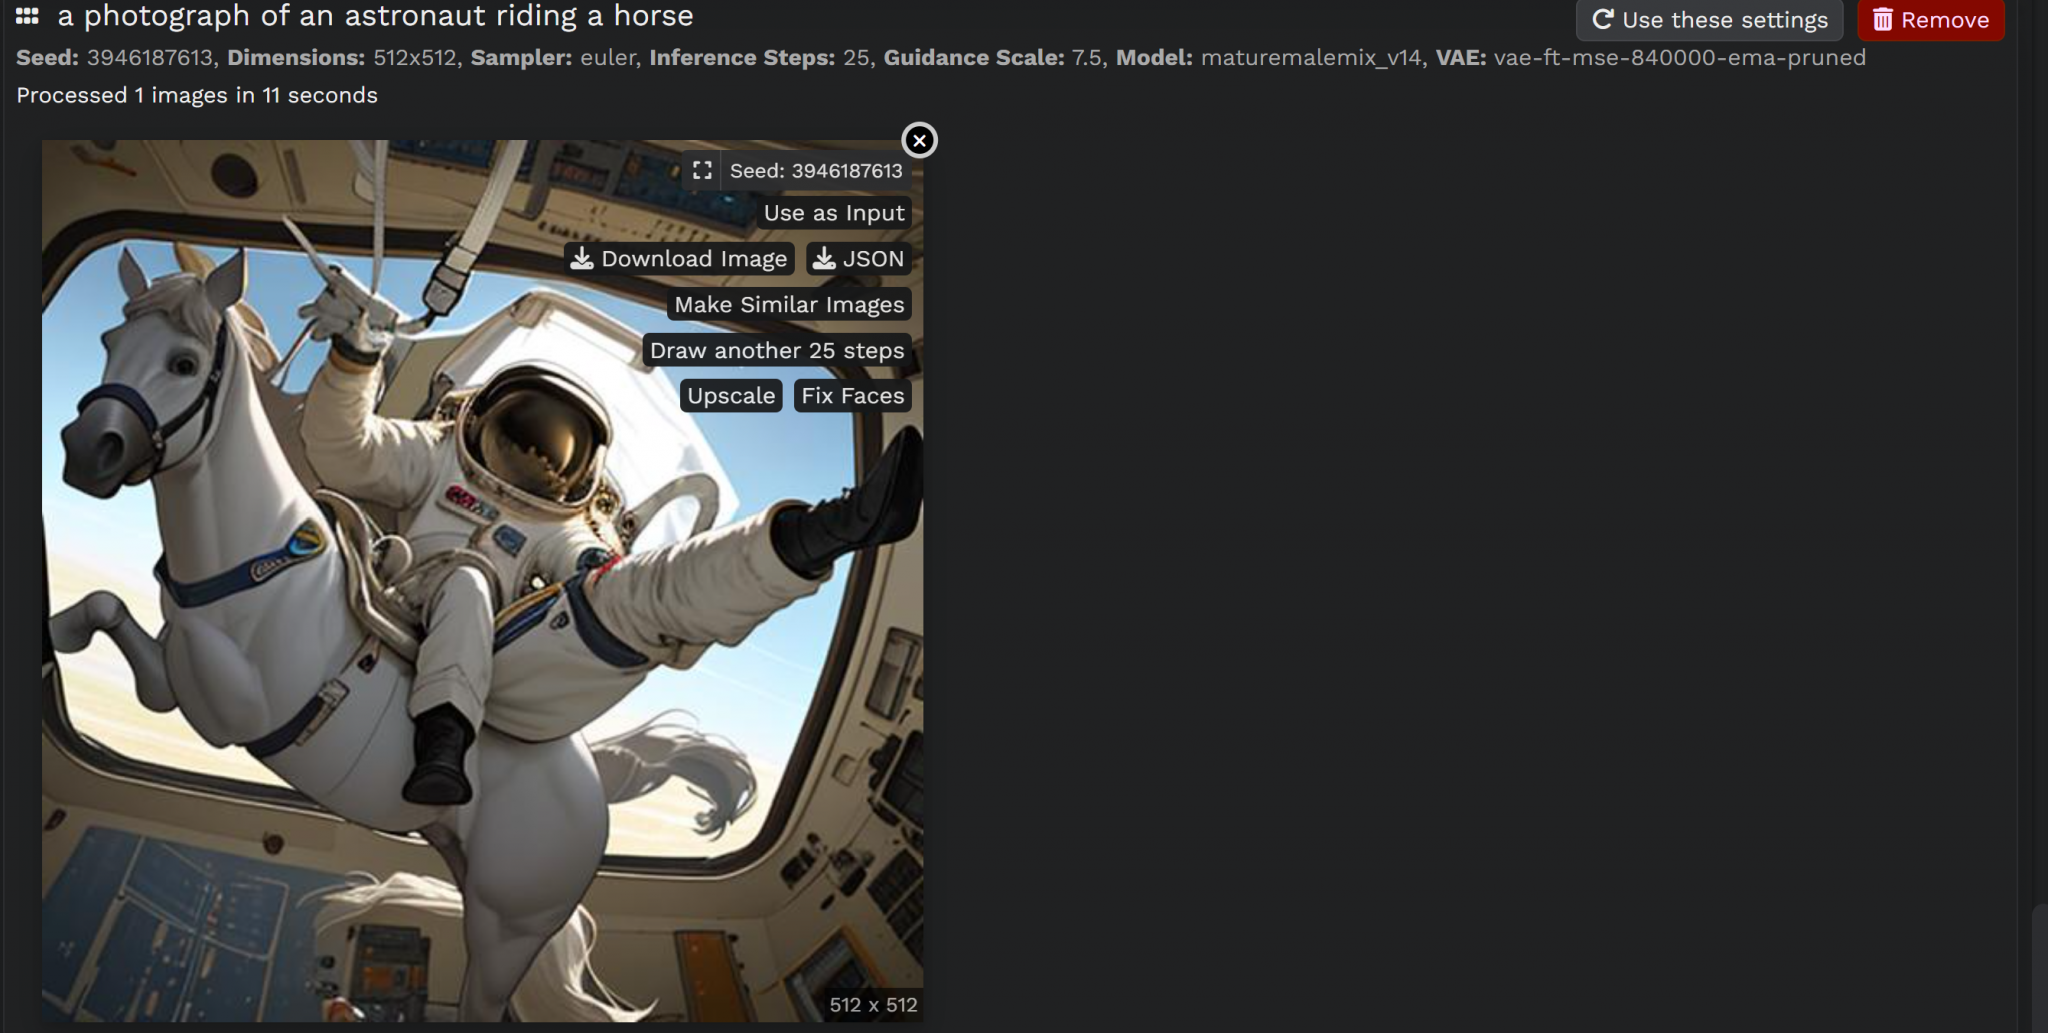
There’s a slight difference, right?
What if we completely change the prompt?
Let’s try:
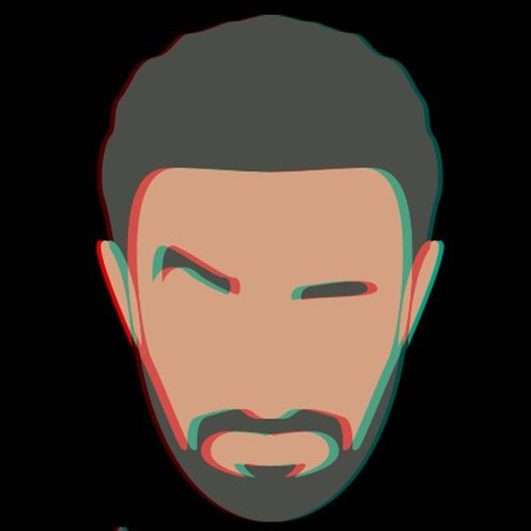
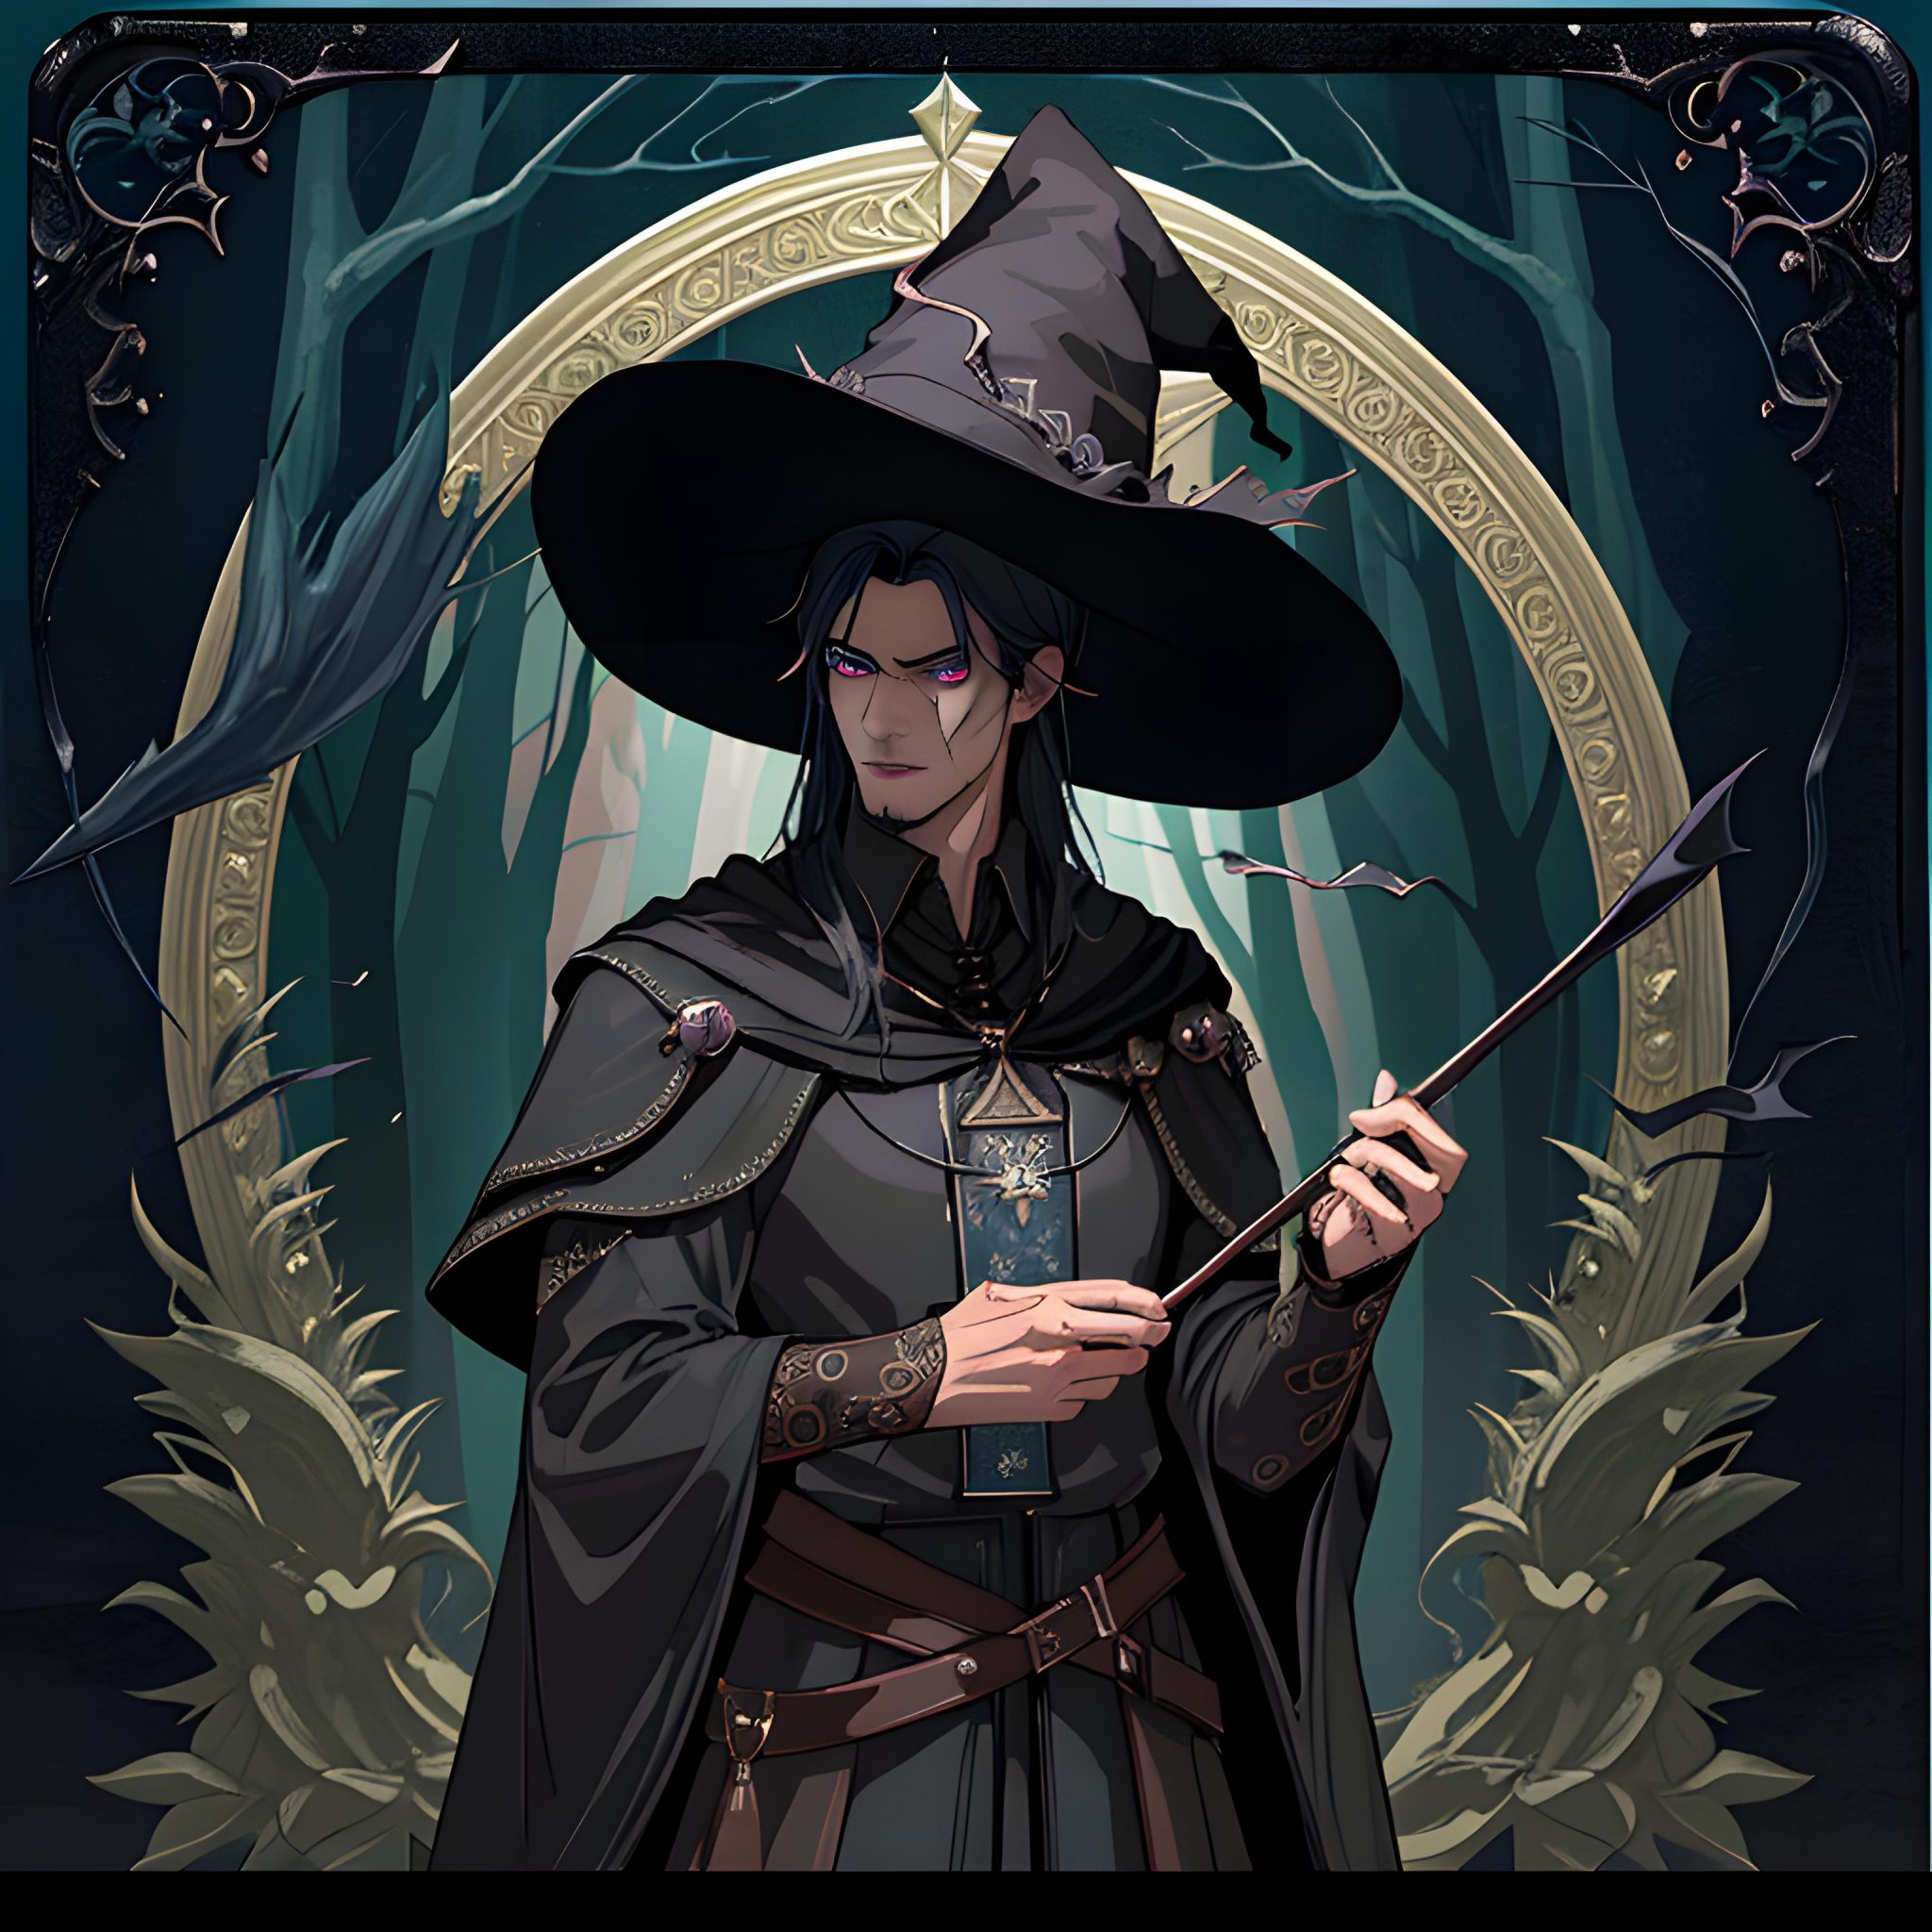
(absurdres, highres, ultra detailed), 1boy,muscular, facial hair ,solo, extremely detailed eyes, (official art, beautiful and aesthetic:1.2), (dark art,erosion,fractal art :1.3), colorful, horror,highest detailed
The first default model:
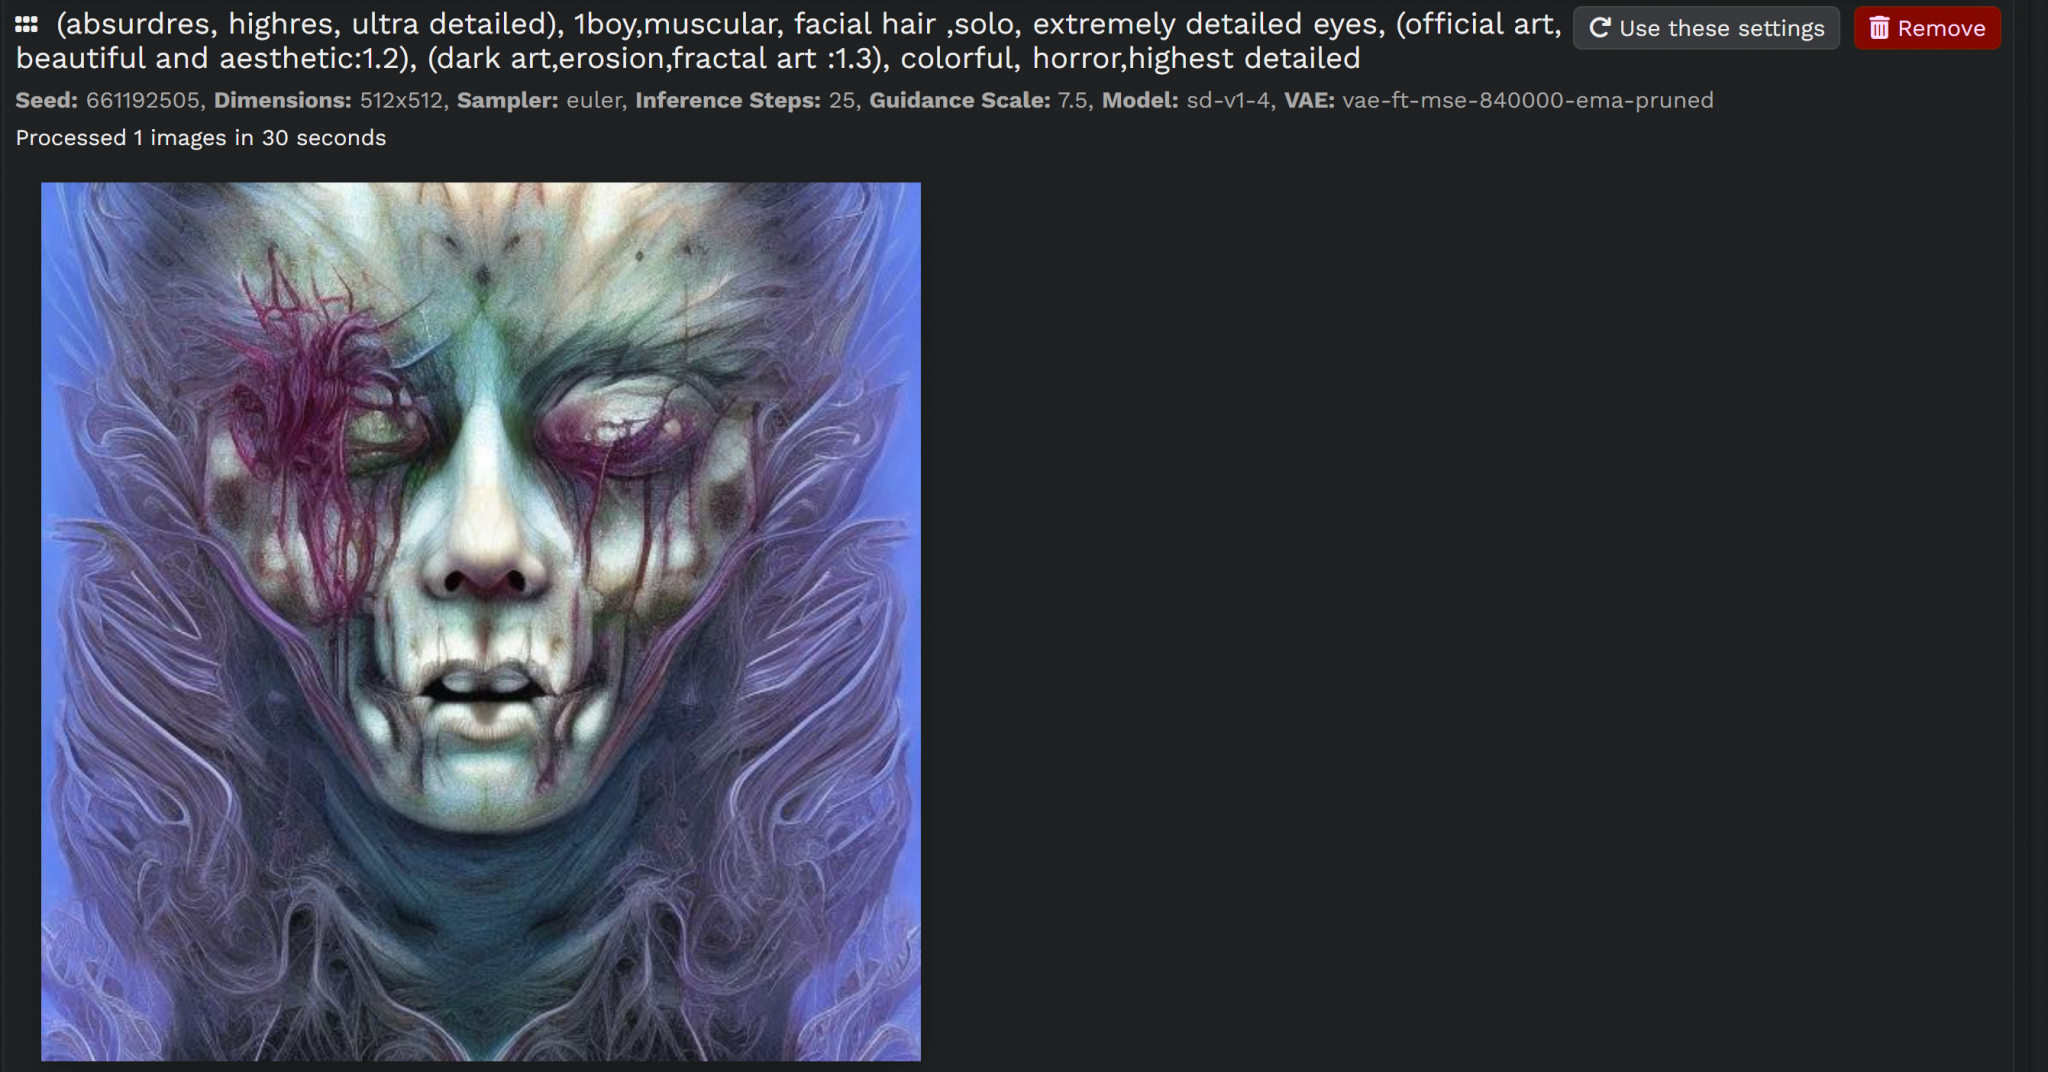
The new model we just downloaded:
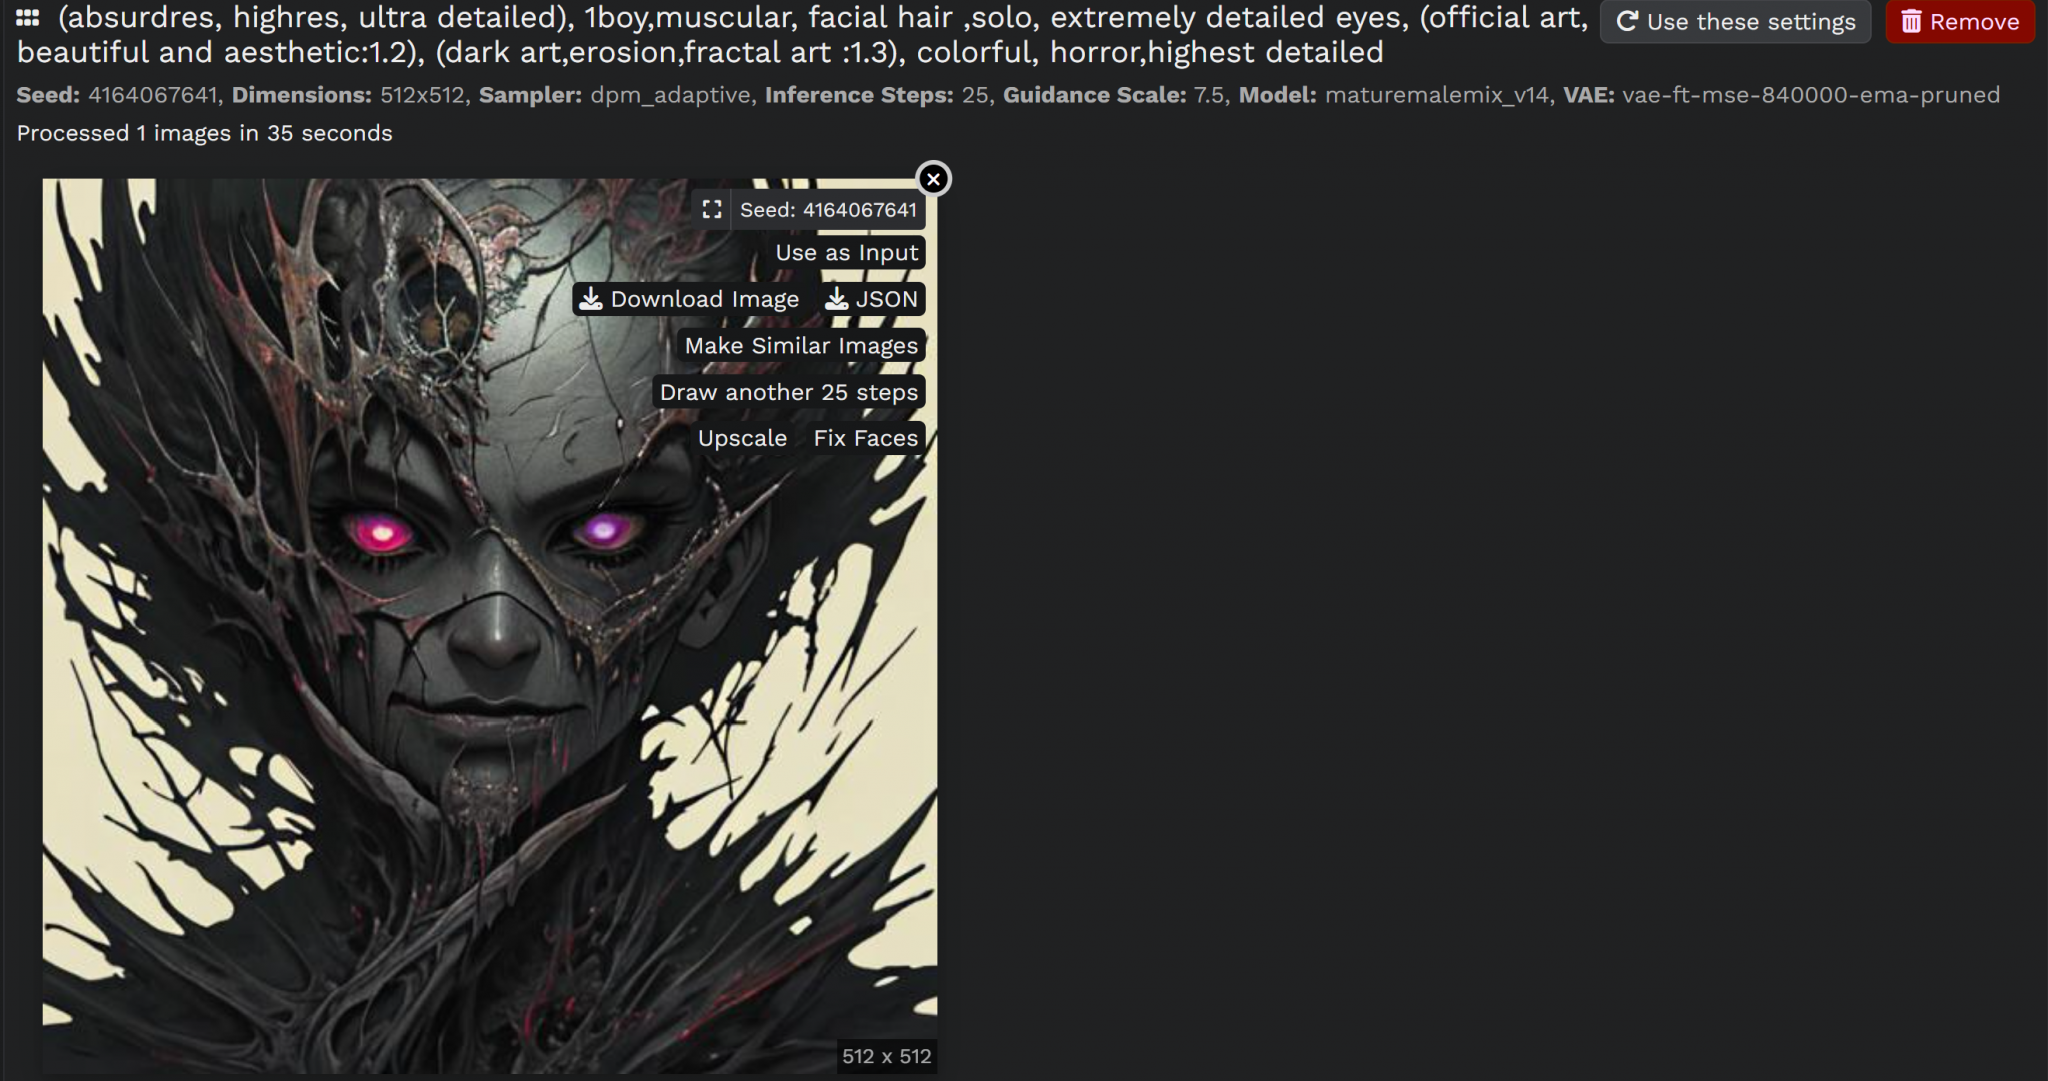
Now, it’s completely different ,, right? 😎😎🪄
As you can see, you can also make more iterations, upscale the resulting image, use it as a reference for your next trial and generate more similar images.
Bonus: try playing around with the Sampler 🤭🤭
BTW, all images used here including the thumbnail is generated by it 🤭
Feel free to play around and download as much models as you wish, the limit is the sky ! 😎🪄
I think that was beneficial, no? 🤔
Please tell me if I mentioned anything wrong or you have more interesting ideas for me to try 🤭🪄
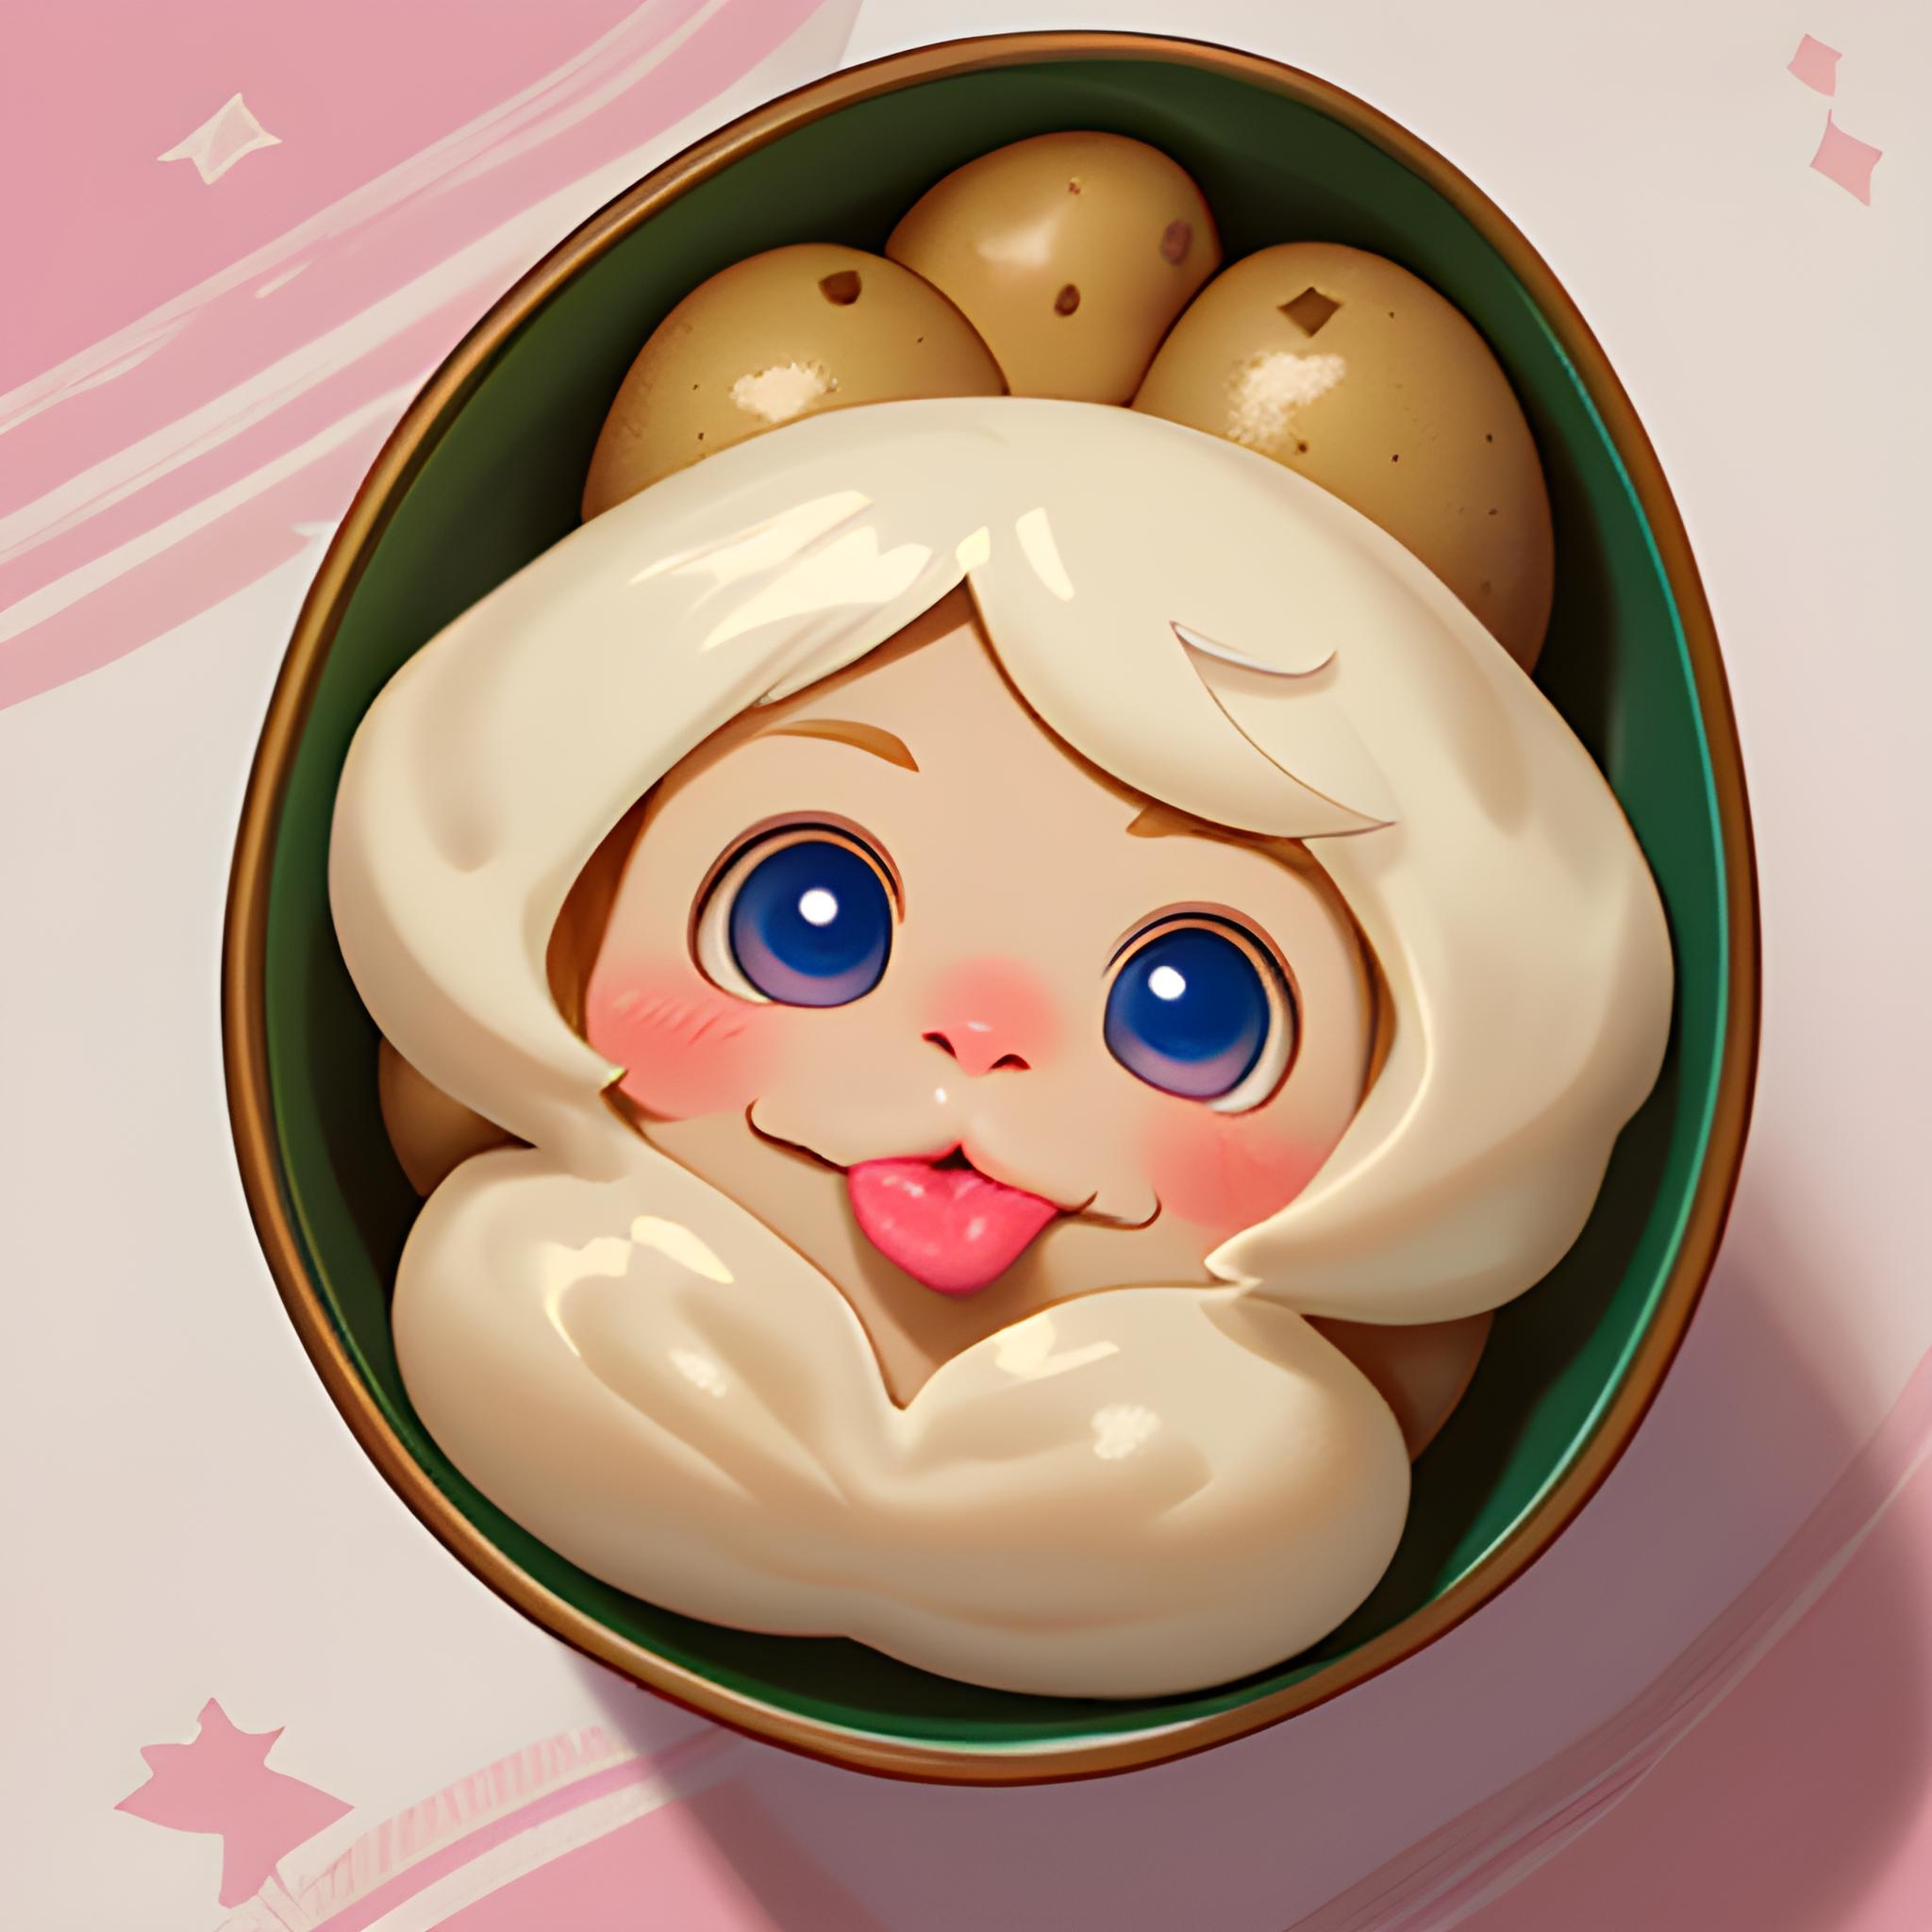
Here’s a Magical Potato generated by Stable Diffusion 🤭🤭 !